UWP: XAML's ComboBox Control - Part 2
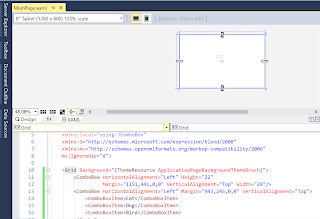
In Part 1, you added after following a few tasks the following to a Blank UWP project.
- Getting the ComboBox Control
- Placing ComboBox on the Design area
- Adding ComboBoxItems
In this post you will write code for an app consisting of a ComboBox, a Button and a TextBox so that when you select an item in the ComboBox and click the button, the selected item appears in the TextBox.
We already have a ComboBox with three items.
We will drag a BUTTON and a TEXTBOX from the Toolbox
ComboBox_8
And drop on the DESIGN pane as shown. The XAML markup is shown in the XAML Pane as shown.
ComboBox_9
We want to Select a ComboBoxItem and then click the BUTTON. This should get displayed in the TEXTBOX.
We add a click EVENT to the button by typing-in Click inside the BUTTON code as shown and choose 'NEW EVENT HANDLER'.
ComboBox_10
It will be named 'Button_Click' as shown.
ComboBox_11
The following will be added to the MainPage.xaml.cs page.
ComboBox_12
We provide names for the ComboBox ('cbx') as well as the TEXT ('txt') box. Now we add the following code to the above newly added code as shown.
-----
private void Button_Click(object sender, RoutedEventArgs e)
{
txt.Text = cbx.SelectionBoxItem.ToString();
}
-------
Now build, deploy and run the project on Local Machine. When the App is displayed, choose an item (herein, 'BIRD') from the ComboBox and Click the BUTTON, you will see it displayed in the TEXTBOX as shown (the UI is not designed well, it should be improved).
ComboBox_15


Comments